On this page I will give you detailed instructions on how to build your very own Windsurfer Antenna for very few pennies. The reasons you may need a Windsurfer Antenna may vary but generally the use usually entails increasing the range of your wireless equipment. Those who are in the aerial video and photography segment as well as FPV users will find applications for this particular antenna quite useful. The design of this antenna can also be used for wireless routers for computer equipment to increase the Wi Fi signal within your home. In order to build this antenna you will just require a few things and not even an hour of your time.
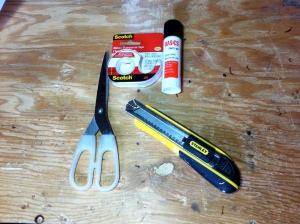
You will need a pair of scissors, a roll of scotch tape, utility knife , and a glue stick.
A used file folder to paste your templates onto as well as a roll of aluminum foil ( which isn’t in the photo but should have been included ) .
And last but not least , the template ( which is downloaded off the computer and printed ).
This is the link to that template you will need, download it now. http://www.aegisarts.com/wifi/ez12.pdf
Here now are the directions on how this whole thing comes together.
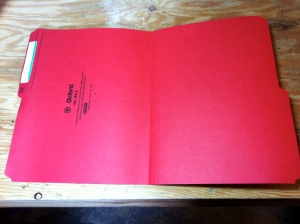
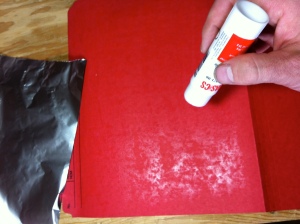
The first thing you need to do is to take your file folder and open it fully, on one side apply the glue stick completely over one half of the folder.
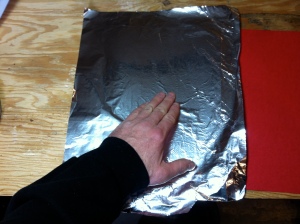
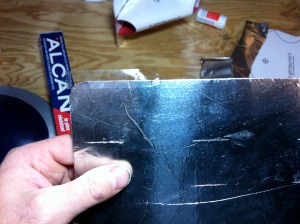
The next thing you need to do is to lay a sheet of aluminum foil down on the glued surface, apply the dull side of the sheet to the glued surface and keep the shiny side up.
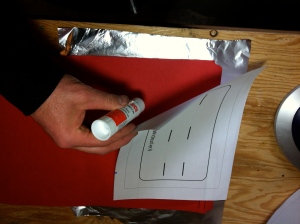
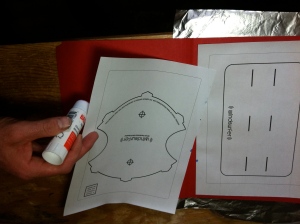
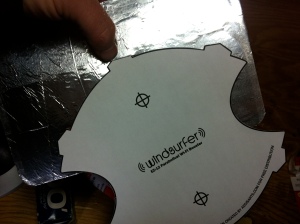
This time, flip the file folder over and apply the glue to the other side of the folder and then apply the template that has the rectangle and the six slots you will slit open later.
Now take your other template and apply your glue stick entirely over the other side. When gluing these templates and aluminum foil, just make sure you rub the paper flat and take the wrinkles out for a clean look.
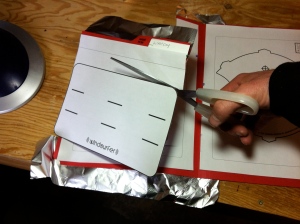
You can now cut out the template images out of the file folder.
When cutting out this template, just be sure to take extra care not to cut off the six tabs as you will need them to be inserted into the rectangular template to connect them both.
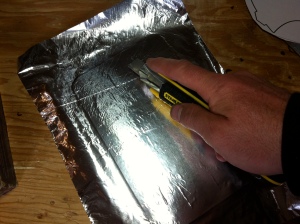
The next thing that needs to be done is to take your utility knife and cut the six slots you will need for connecting the templates.
What I had done next was cover the opposite side of the rectangular template with foil and then cut the six slots again.
Here is a quick tip that I added to mine that I thought you might appreciate. Take your scotch tape and apply it to the edges of your rectangular template, this will keep the foil from potentially peeling off of the file folder material.
You can now assemble your templates together, make sure all six tabs end up in all six slots. One key thing to remember is to apply tape to the backside once the tab is folded over, it will prevent the tab from pulling out. One other thing I should mention here is that on this template in particular, you do need to punch out the two holes with the cross in the center as this is where the antenna sticks through both holes later.
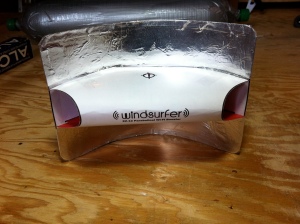
In the end, this is what your Windsurfer Antenna booster should look like once completed.
In this photo you can see where the hole is in the center that your antenna will come up through.
I hope this helps with your wireless video and FPV applications, take care and happy flying !






Pingback: How to build your own Windsurfer Antenna | rchelimenace
Perfect!
LikeLike
Has anyone punched two antenna holes in the windsurfer and used it on a P3 ?
LikeLike
The focal point would be wrong for a P3, P4, or Inspire.
LikeLike
Thank you very much!
LikeLike
It’s really nice. Works for me.!!! Thanx. :)😁
LikeLike
Quick made one in 5 minutes and tested it on my P3S. range went from 2500 ft. to 6200+ and still strong. Highly recommend!
LikeLike
thank you
LikeLike
Made one for my Phantom 3 Standard and so far the max range has increased drastically. Without the Windsurfer had signal loss and ARH process started at about 1650′ away from home point while flying at an altitude of 300′. With Windsurfer attached flew same direction at same altitude and still had solid signal out to 2500′. Could have went further but foggy conditions made keeping visual contact difficult. Not sure what the max range will be but I can tell you without a doubt it’s much improved. Thanks again. FYI I’m in the states (NC) if that helps anyone.
LikeLike
Hi
This is a great project, tried it with my Phantom 3 Standard and on a field got the range from stock 500m to about 850 with decent video feed.
Big thanks for sharing this.
Now to figure out how to get it from CE to FCC mode without bricking the thing.
LikeLiked by 1 person